Autoflowering Harvest Guide: How to Dry Trim and Cure Your Autoflowers
Welcome back to part 3 of our How to Harvest Autoflowers series! After we established our intention and the equipment we’d need in part 1, readied our workspace, defoliated and dried our autoflowers in part 2, in this instalment we’ll be outlining the final stages of getting a workable product; covering dry trimming, storage and curing.

A trimmed and cured nug, ready for the smoke!
Dry Trimming and Storage of Autoflowers
We call it dry trimming because most of the manicuring done with this technique occurs after our plants have dried. In short, we choose to dry trim because this process helps to preserve the trichomes that contain all of the secondary metabolites (i.e. cannabinoids, terpenes, flavonoids) that we enjoy during consumption. By refraining from the agitative and destructive process of slicing into fresh leaves, those trichomes stay intact through dry. This enables us to carefully manicure, or “dry trim” one final time before the plants are bucked into jars and bags for cure and long-term storage.
We have already removed the non-trichome-covered leaves from the plant. Our goal now is to complete a final manicuring process and to “buck” the nugs from each branch so that we can store them for the cure. To make this process quick and ergonomic, break your plant down into workable branches, think less than 12 inches. This way you can work on one branch at a time, trimming from the bottom up, snapping each individual nug off as you work your way up to the top. Depending on if you are using jars, or some other storage option such as Grove Bags, you may want to bug each nug into a small pile in front of you, transferring to containers periodically.
Trim Technique:
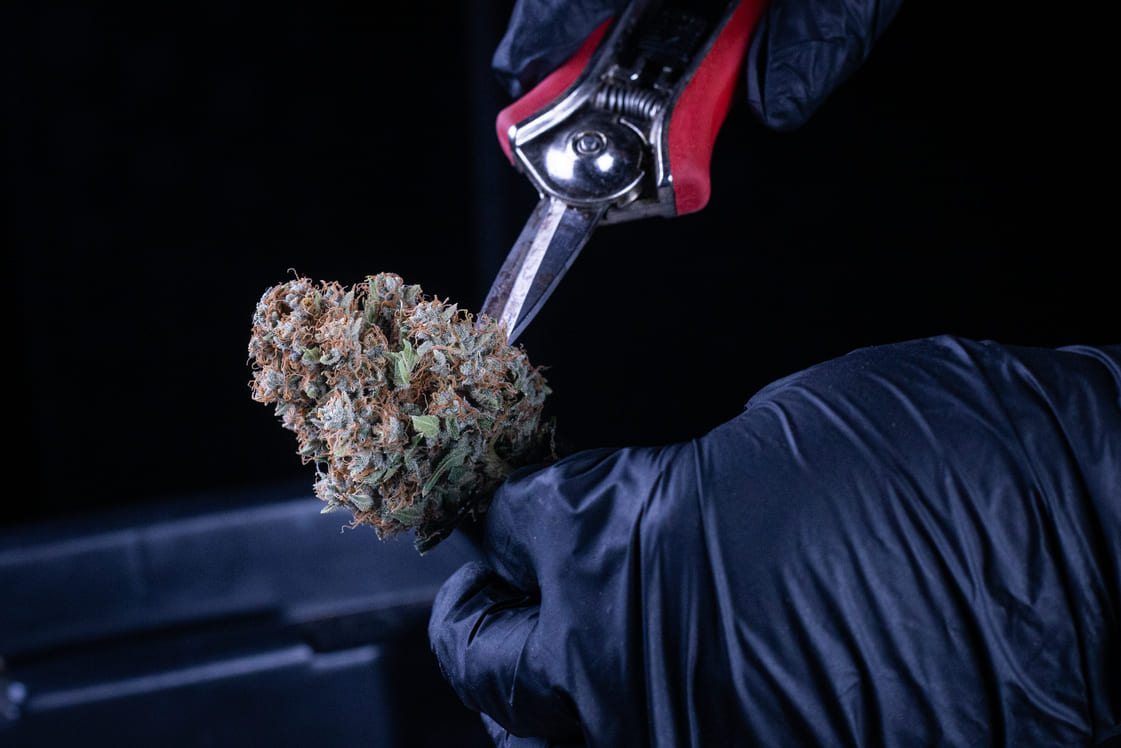
Dry trimming is all about gentle precision. Hold your shears lightly, like you would your phone. Hold up the branch with your non-dominant hand, and begin by snipping unwanted sugar leaves at the base. Try not to press your scissors into the buds, and NEVER attempt to “hedge trim” your bud by swiping aggressively across the surface. This maneuver eviscerates trichomes, leaving you with odorless and flavorless final product. Instead, take extra care to remove leaves only by plucking them outward at the base.
Once a bud site is fully manicured and ready for storage, snip it at the base, leaving little to no stem. You can now take that trimmed bud and place it in your mason jar or Grove Bag for cure. Be sure never to fill your storage containers up completely. Aim for 65-80% full so that you can allow some space for the product to breathe and reduce the chance of moisture buildup.
It’s as simple as that. Repeat this process with each branch and with each plant until you are left with a pile of stems, a pile of trim, and a gang of containers with your loot in it! It’s up to you to decide what you want to do with your leftover material. Stems are good for compost, mostly. But you can use trim for edibles as those leaves contain trichomes, so consider bagging up and freezing it for another day.
Curing Your Autoflowers
Once your harvest is all jarred and/or bagged up, your buds are off to storage to begin their curing process. Make sure to keep your containers in a cool, dark, and dry place during this phase and throughout long term storage. Heat, light, and exposure to the elements are the greatest enemies to the cure process. Your greatest defense is providing environmental consistency by choosing a storage area that is perpetually acclimatized. Any fluctuations in climate and atmosphere stand to have a negative impact on the cure process. Keep in mind that during the curing process, you'll need to regularly access your containers at first, so make sure they are within reach.
Mason jar curing is a bit of an intuitive process that utilizes a “burping” technique as a means of slowly releasing moisture from the jars over a prolonged period of time. As your freshly jarred nugs become acquainted with their new airtight mason jar forever homes, they will continue to off-gas moisture into the air, creating a microclimate conducive to mold and mildew if not remediated. We can release this excess moisture through burping. For first time growers, throwing in a miniature hygrometer into your mason jars will give you a humidity and temperature reading that can help you determine when the best time to burp is. The golden parameters are 60-65% relative humidity tops, with mid to high 50’s being adequate for long term storage.

Pick your poison - Mason jars or Grove Bags?
How to Burp Autoflowers - How do I burp?
Your freshly jarred plants will require daily burping for the first week. For those that use hygrometers, you'll know it's time to burp because the readings will climb over that 65% humidity threshold. At this point, open the jar and let the lid rest partially covered for around 30 minutes. Jars with higher moisture might cause a higher spike and may require a few hours to acclimatize. Once your burp is complete, seal the jars back up and return them to storage until later in the day or the next day. This will be a daily practice for the first week. After that, you'll want to check in on your stash every other day for a week or two for a good burp, followed by once every week for a month, and then monthly (if applicable). You want to be careful not to leave your jars open for too long after the first few days, bringing your burp time down to several minutes. Stop the burping process if you come back and see that your buds are reading under the humidity threshold or are feeling a bit too dry to the touch.
Ultimately, you can extend this curing process several months. Many argue that optimal cures can take several months for some varietals. These later stages in the cure cycle have the potential to reveal nuances in the flavor, effects, and feel of a varietal that can only be obtained through the perfection of the cure process. Everything from the snap of a bud to the flavors as they stick to your palate can indicate when a plant has reached its optimal cure window.
Don’t be afraid to start consuming your product as soon as you get it into jars to cure! If you are concerned with making sure your jars remain undisturbed during the initial curing phase, utilize the opportunity during one of your burps to break off some nugs to a smaller container that you can use immediately and as frequently as you please. This way you protect the integrity of your cure jars while still being able to enjoy your harvest.
It's important to keep in mind that all cannabis flowers, no matter how well cured, have a shelf life. This is mostly a subjective line whereby your material will have surpassed its peak stage of optimal freshness and will begin to degrade. The aromas will fade, and the effects will change, often transitioning to a more sedative effect. Proper storage can hold this degradation process for quite some time. In most cases, the home grower will surely find a way to pass the grass before any problems arise.
If you want to level up your cure and storage game with an easy-to-use and aesthetic solution, give our custom-designed Mephisto x Grove Bags a shot during your next harvest. Their proprietary TerpLoc technology utilized in their storage bags eliminates both odors as well as the need for burping altogether. This can be a game changer for inexperienced growers as well as those wanting to take the guesswork and labor out of the storage and cure process. Keep an eye out for another blog where we discuss the comparison between curing and storing Mephisto Autoflowers in Grove Bags versus in mason jars.

So that’s it! From start to finish, the harvest and cure process of your autoflower journey. Hopefully, now you have all the knowledge you need to get the most of your hard-work growing your crop, and can sit back and enjoy a toke or two!
Jimbo, signing out!
related blogs.
Check out these other blog articles.


